and after refinishing, it’s a furniture masterpiece!
Refinishing a pice of furniture with Heirloom Traditions Crete
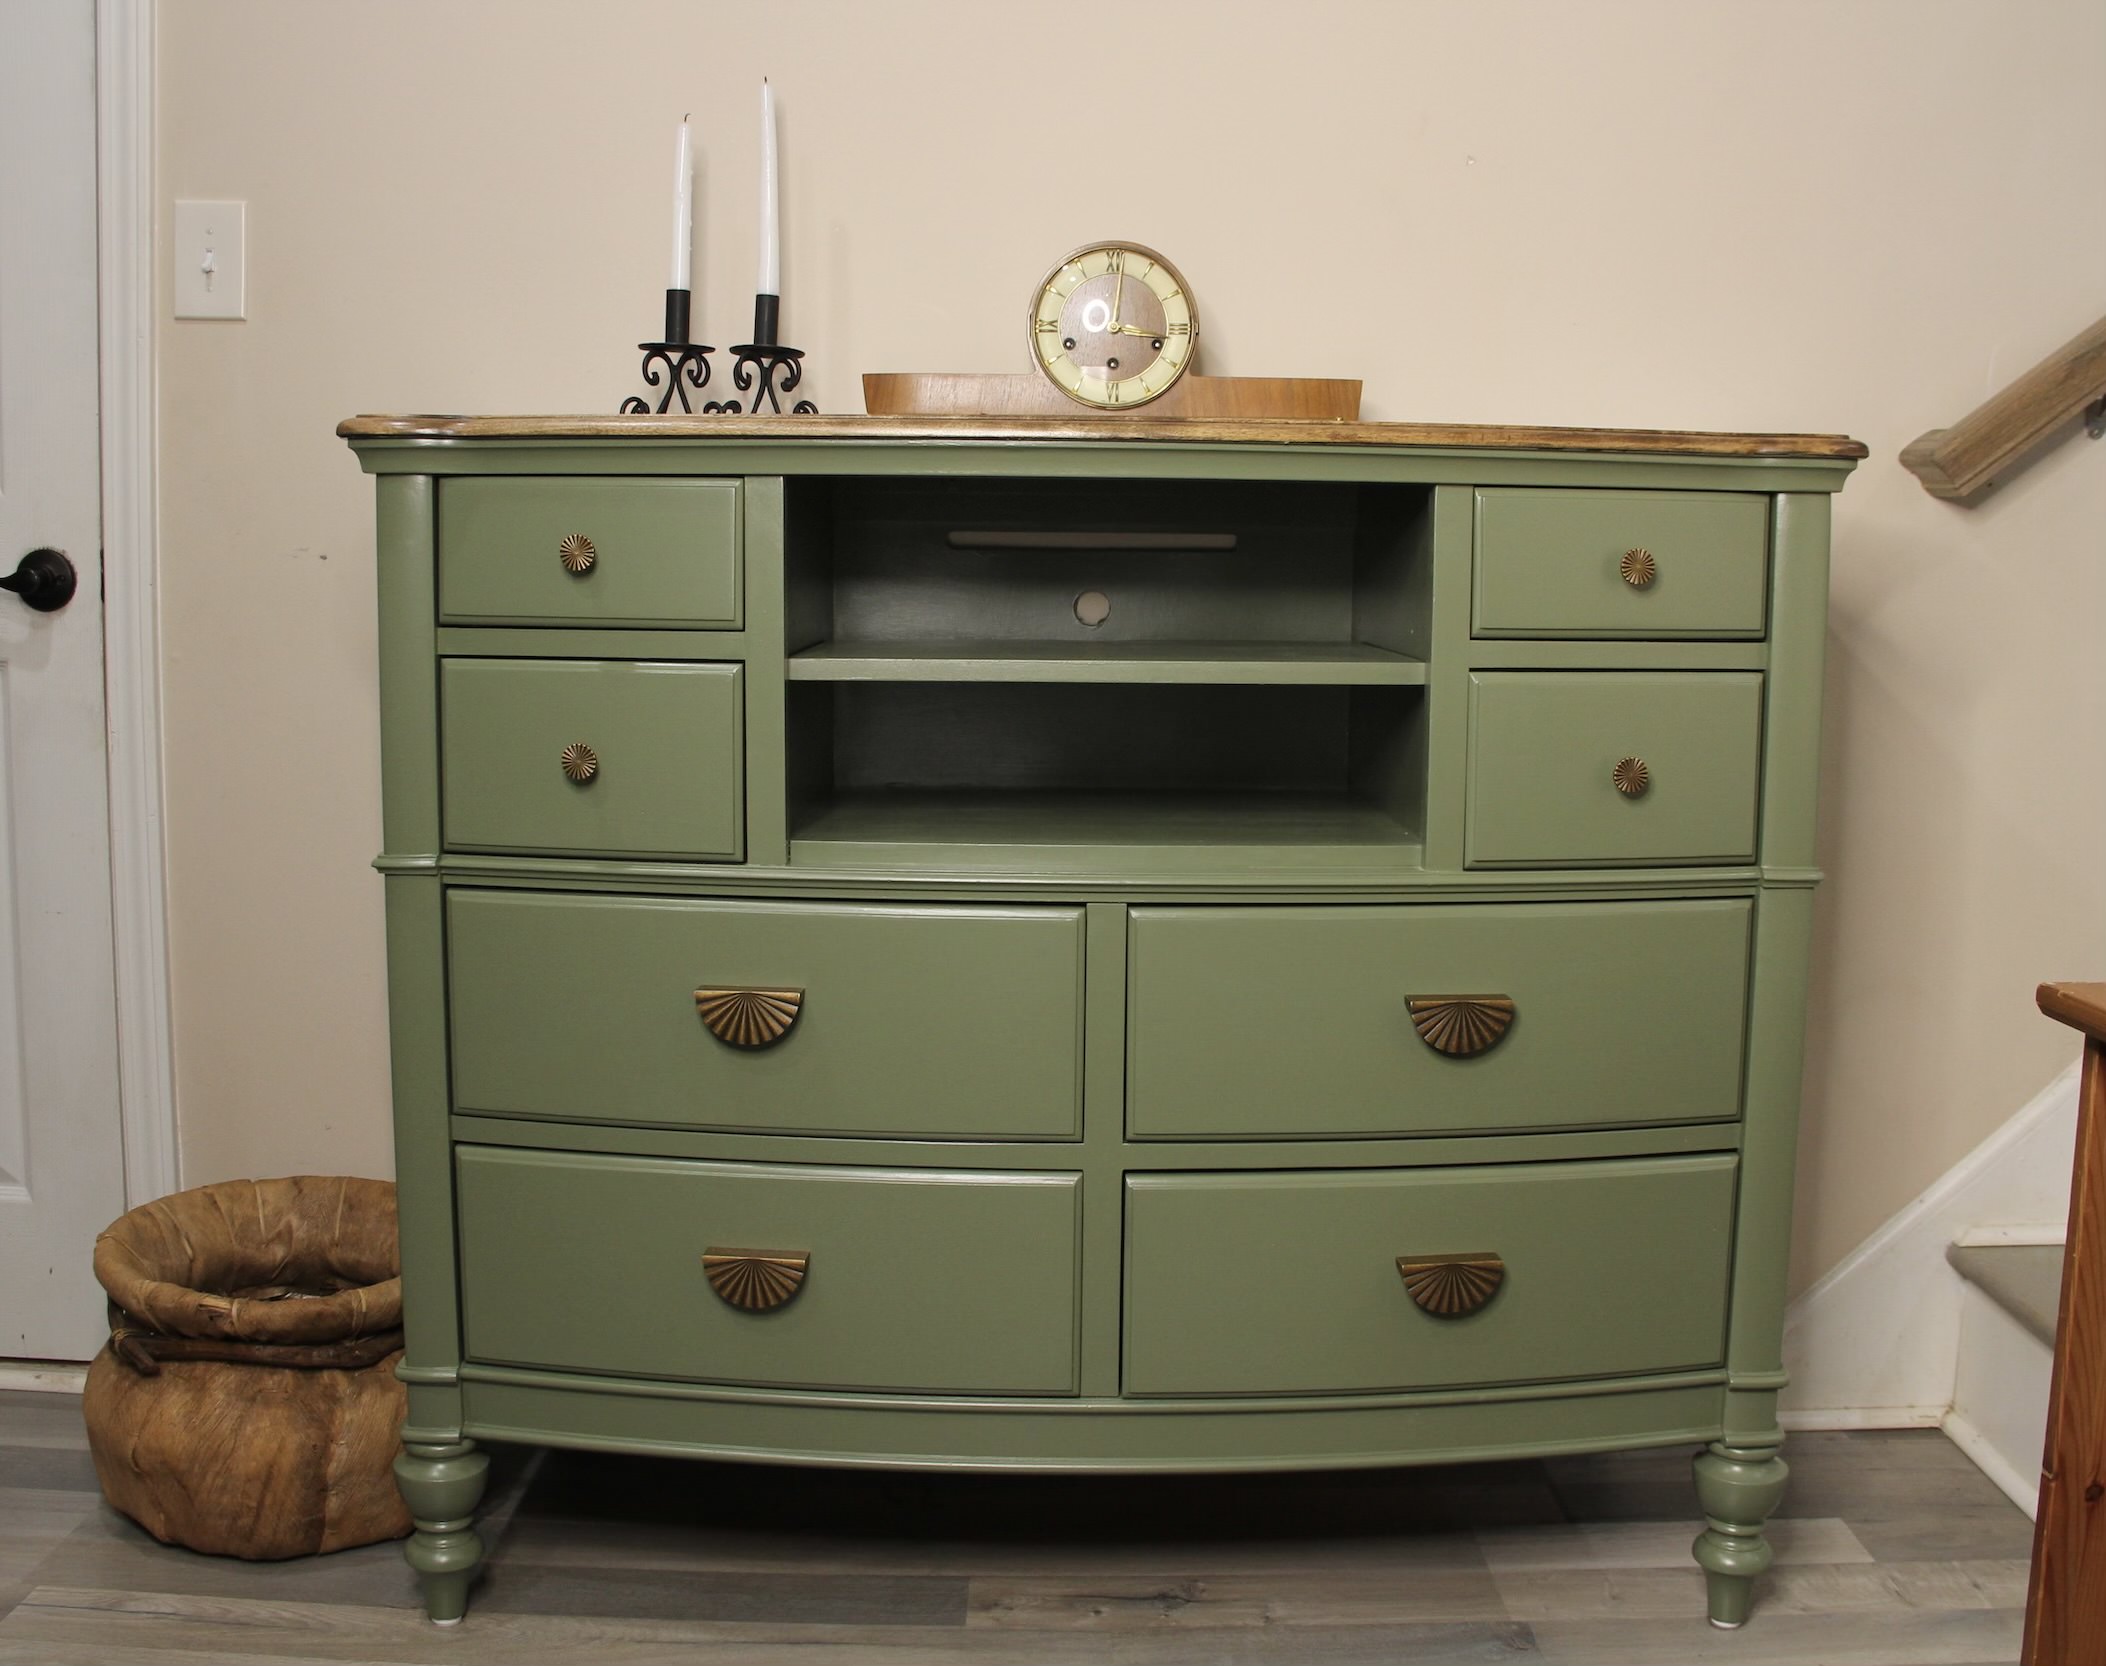
Hey there! I’m so excited to share the details of one of my latest furniture projects—a complete transformation of an old dresser using Heirloom Traditions Crete paint and a medium walnut-stained top. This one was a labor of love, and I couldn’t be happier with how it turned out.
Crete is a beautiful, earthy green that strikes the perfect balance between bold and soothing. It’s one of those colors that can make any furniture piece look timeless and fresh. Paired with the warmth of a walnut-stained top, it created a look that’s both classic and modern. If you’ve ever been curious about tackling a project like this, here’s how I made it happen.
The Before: A Dresser with Potential


When I first got this dresser, it was rough. Scratches, a dull finish, and overall neglect made it easy to overlook. But under all that wear and tear, I could see its potential. It had solid bones and great lines, so I knew with the right approach, it could become something really special.
The Process: Step-by-Step
1. Cleaning and Prepping
The first step for any refinishing project is cleaning. I used warm water some TSP to strip away years of grime. Trust me, you don’t want to skip this step! Clean surfaces are key for paint and stain to adhere properly.
Once it was clean and dry, I gave the dresser body a quick scuff sanding with 220-grit sandpaper, just enough to smooth out imperfections.
2. Sanding and Staining the Top

For the top of the dresser, I decided to go all-in with a fresh wood finish. It had deep scratches that actually turned out to be in the varnish! I stripped the varnish and then I completely sanded the top down to bare wood, starting with 80-grit sandpaper to remove the old finish and working up to 220-grit for a smooth surface.
Once the wood was prepped, I stained it using a medium walnut stain. This shade brought out the wood’s natural grain beautifully and added the perfect amount of warmth. After letting the stain dry completely, I sealed it with polyacrylic for a durable, satin finish.
3. Painting with Heirloom Traditions Crete
For the body of the dresser, I used Heirloom Traditions Crete paint. If you haven’t tried this paint yet, it’s an all-in-one formula that doesn’t require primer or sealer—so it’s a total time-saver.

I applied the paint with a synthetic brush, which made it easy to get a smooth finish without brush marks. Crete’s rich, earthy green color immediately transformed the piece, giving it a clean, modern look. I ended up applying several coats for full, even coverage, allowing about two hours of dry time between coats.
4. Adding the Finishing Touches
Once the paint was dry, I added new hardware that matched the modern yet classic vibe I was going for. The hardware was a bit of an investment but really makes the piece.

The Final Look: A Stunning Transformation

This dresser turned out even better than I imagined! The combination of Crete’s soft green and the rich walnut-stained top is such a perfect pairing. It’s elegant, versatile, and makes a statement without being overpowering. This piece could easily work in a bedroom, an entryway, or even as a dining room buffet.
My Top Tips for Refinishing Furniture
1. Don’t rush the prep: Cleaning, sanding, and prepping your surface is key to getting professional-looking results.
2. Test your stain: Always test your stain on a small, hidden area to make sure it’s the shade you want before committing to the entire piece.
3. Quality tools matter: Invest in a good brush or roller for a smooth, streak-free finish.
4. Be patient: Allow adequate drying time between coats of paint or stain. It’s worth the wait!
Ready to Tackle Your Own Project?
Refinishing furniture is one of the most satisfying ways to give new life to an old piece. Whether you’re a beginner or a seasoned DIYer, Heirloom Traditions Crete is a fantastic paint that makes the process simple and fun. Pair it with a beautiful stained top like I did, and you’ll have a custom piece you can be proud of.
What do you think of this transformation? Let me know in the comments, or share your own furniture flips—I’d love to hear about them!
This post contains affiliate links. If you click through and make a purchase, I may earn a small commission at no extra cost to you. Thank you for supporting my blog and passion!